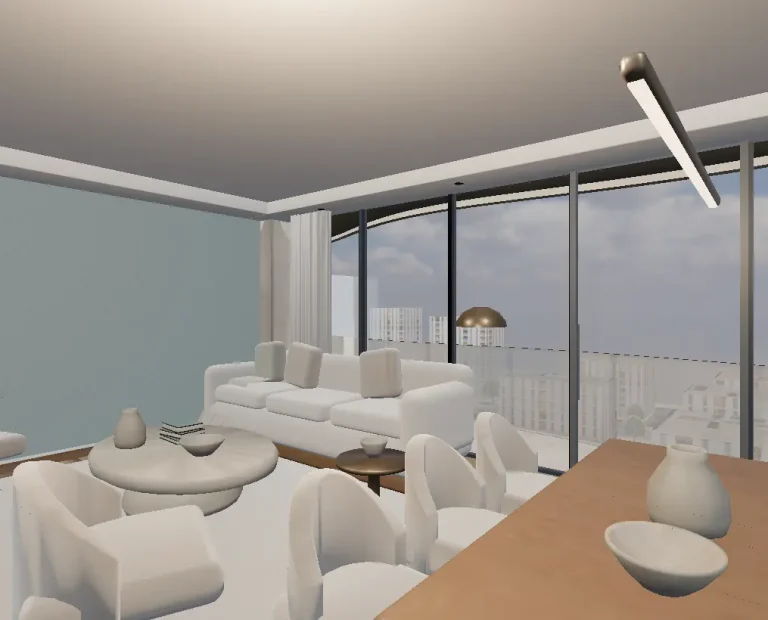
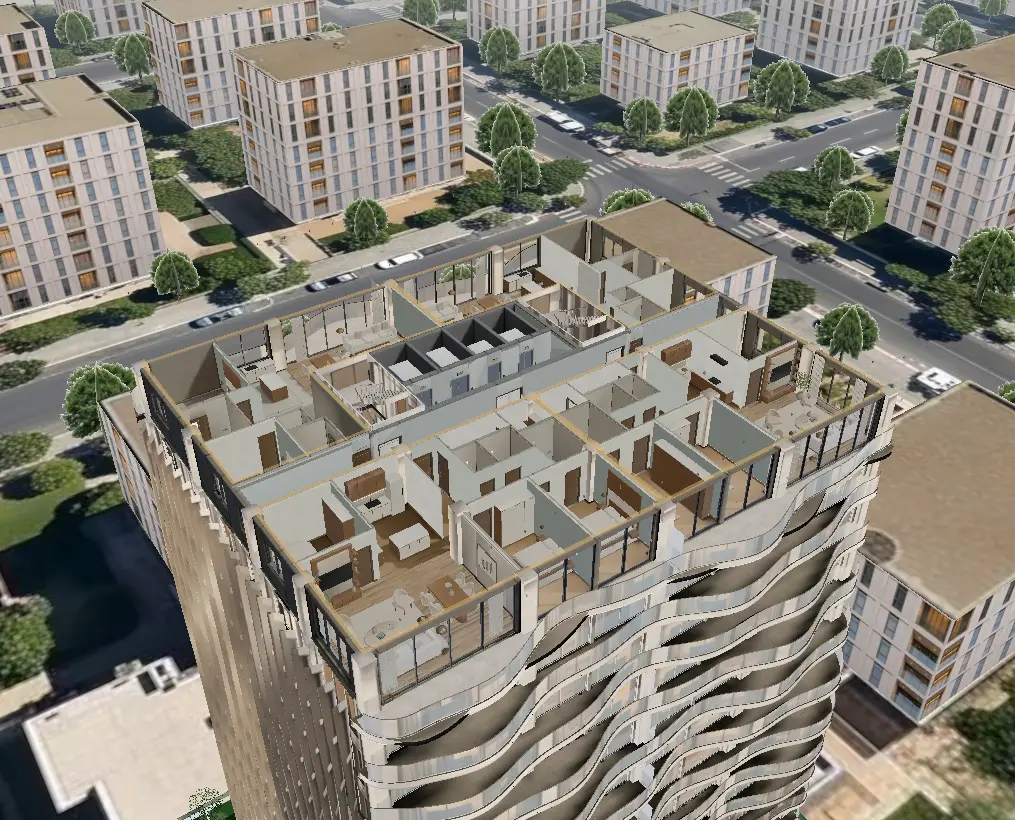
Turning a floor plan into a 3D model involves more than raising walls from a drawing. Heights, openings, changes in level, materials and connections between floors all need to be understood. Missing information leads either to questions and revisions or to assumptions. It is better to record and approve those assumptions before producing the final images.
You do not need a perfect set of documents to begin. This checklist helps separate what is available, what needs completing and what has not yet been decided. That makes a realistic estimate easier to prepare.
What do you need to get started?
Create a clearly identified folder for the latest approved drawings. Plans should show scale, key dimensions, floor names and revision numbers. If you have only PDFs or images, describe their scale and readability. An image without a dimensional reference is not enough to establish precise measurements; at least one reliable dimension or a reference drawing is needed.
- Plans for each floor or layout type, with consistent unit and space names.
- Elevations and sections showing floor heights, openings, parapets and changes in level.
- A list of shared areas and other spaces to include in the experience.
- Confirmed material information, with proposed or unresolved choices listed separately.
- The presentation’s purpose, audience, preferred deadline and a reference for the intended level of detail.
Add a short note identifying the design stage and the person who approves changes. Having a clear decision-maker helps avoid conflicting instructions. Prepare a separate, approved version of information intended for public release.
Which file formats are useful?
An editable CAD drawing or design model may contain more information than a flat image, but its usefulness depends on how it is organised and what it contains. Include a readable PDF of the approved revision alongside the source file, so everyone has the same visual reference. Remember the required fonts, linked files and textures.
A BIM model and a presentation model serve different purposes. Autodesk’s introductory material places architectural modelling alongside data management, documentation and coordination between disciplines. A good-looking render does not convey all of that information. Source: Autodesk, Introduction to BIM for architectural design. Specify which data the public version needs to retain or display.
A lighter glTF or GLB version may be created for the web. These formats support the delivery and loading of models in viewing applications; they do not automatically replace the original design files. Source: Khronos, glTF. Keep the project’s reference files separately from its web output.
Which details usually need clarification?
| Subject | Information to clarify |
|---|---|
| Heights | Floor-to-floor and clear heights, suspended ceilings and level changes |
| Openings | Window heights, door swings and frame details |
| Materials | Material or colour reference, texture scale and whether the choice is confirmed or proposed |
| Site and surroundings | Presentation boundaries, ground slope and approved surrounding elements |
| Unit information | Unique code, floor, layout type and specifications approved for publication |
Do not conceal an unresolved choice. A “proposed” label is better than an image that appears definitive and later changes. Even furniture can affect how people judge a room’s size and purpose, so its scale should agree with the project reference.
How should revisions be organised?
File names such as “new final latest” are hard to track. Use a simple convention: project, floor, document type, date and revision number. Include a short change log stating what changed, who approved it and which file replaces the earlier version. A date alone may not be enough if several revisions happen on the same day.
If a wall has moved, for example, do more than send the new plan. Identify the floor and unit type affected, and say whether elevations, furniture or unit details have changed too. The production team needs to know which images and interactions to review. This is a suggested coordination method, not a requirement of a particular software package.
What should be approved before final rendering?
- Check the initial massing and heights in a simple model.
- Match floor and unit names to the reference documents.
- Approve the main viewing routes and the areas included.
- Develop materials and lighting after the geometry is approved.
- Check text and public information separately from image quality at the end.
If your files are incomplete, describe their actual condition. In the project enquiry, list the documents you have and ask for an agreed way to share confidential files. Our guide to requesting an estimate shows how to turn this information into a scope that suppliers can quote against.
Sources and editorial note
- Autodesk — Introduction to BIM for architectural design: data, documentation and collaboration
- Khronos Group — glTF 3D asset delivery format
Sources were reviewed on 13 November 2026. Unreferenced checklists and examples are editorial suggestions, not client performance reports or guarantees of results.
Have a question or a correction to suggest?
Contact the editorial team